A drip edge may not be the first thing that comes to mind when you think of roofing components, but it plays a crucial role in maintaining the integrity of your roof and home. This often-overlooked metal flashing serves as a line of defense against water damage, directing rainwater away from the roof and into the gutter system.
The Importance of a Drip Edge
The primary function of a drip edge is to guide water away from the fascia and into the gutter, thereby preventing water from wicking back onto the roof deck. This is vital because water infiltration can lead to a multitude of problems, including rotting fascia boards, damaged shingles, and even interior water damage over time. By channeling water effectively, a drip edge also helps to prolong the lifespan of your roofing system and maintain the aesthetic appeal of your home.
Anatomy of a Drip Edge
Understanding the basic structure of a drip edge can help you appreciate its functionality. A typical drip edge consists of two main parts:
- Flange: This is the part of the drip edge that is nailed directly to the roof deck. It lies flat against the roof and is usually installed over the roof underlayment.
- Projecting Edge: This is the outward-facing part that directs water away from the fascia and into the gutter. It’s designed to protrude slightly over the edge of the roof to ensure that water drips clear of the underlying construction.
These two components work in tandem to provide a robust system that effectively manages water runoff, protecting your home from potential water damage.
Types of Drip Edges
Drip edges come in various shapes and styles, each designed for specific applications and aesthetic preferences. The most common types are:
- L-Shaped: This is the most straightforward design, consisting of a simple 90-degree angle. It’s versatile and commonly used in various roofing systems.
- C-Shaped: This type has a rounded edge and is often used for architectural purposes, providing a softer appearance at the roof’s edge.
- T-Shaped: This design includes an extra flange that runs parallel to the roof, providing additional support to the roofing material.
Understanding these types will help you choose the right drip edge that not only serves its functional purpose but also complements the aesthetic of your home.
Material Choices for Drip Edges
The material of a drip edge is a crucial factor that affects its durability and maintenance requirements. Galvanized steel is a popular choice due to its resistance to rust and relatively low cost. Aluminum is another option, known for its lightweight nature and resistance to corrosion. Copper, while more expensive, offers a unique aesthetic and exceptional durability. The choice of material often depends on factors like the local climate, the type of roofing material you have, and your budget.
Installation Best Practices
Proper installation of a drip edge is essential for its effectiveness. The process generally involves attaching the flange to the roof deck using roofing nails, ensuring it lies flat and flush. The drip edge is usually installed under the first course of shingles and over the underlayment to provide optimal water channeling. It’s crucial to overlap the pieces correctly to prevent water from seeping through the joints. Following the manufacturer’s guidelines or consulting a roofing professional can ensure that the drip edge is installed correctly, offering maximum protection against water damage.
Drip Edge vs. Other Flashings
While drip edges serve a specific purpose along the eaves and rakes of a roof, they are just one type of flashing used in roofing systems. For instance, kickout flashing is used where the roof meets a vertical wall to direct water into the gutter. Step flashing is used around chimneys and dormers, and valley flashing is used in the valleys where two roof slopes meet. Each type of flashing has its unique design and installation requirements, but all aim to manage water runoff and prevent leaks.
Common Issues and How to Address Them
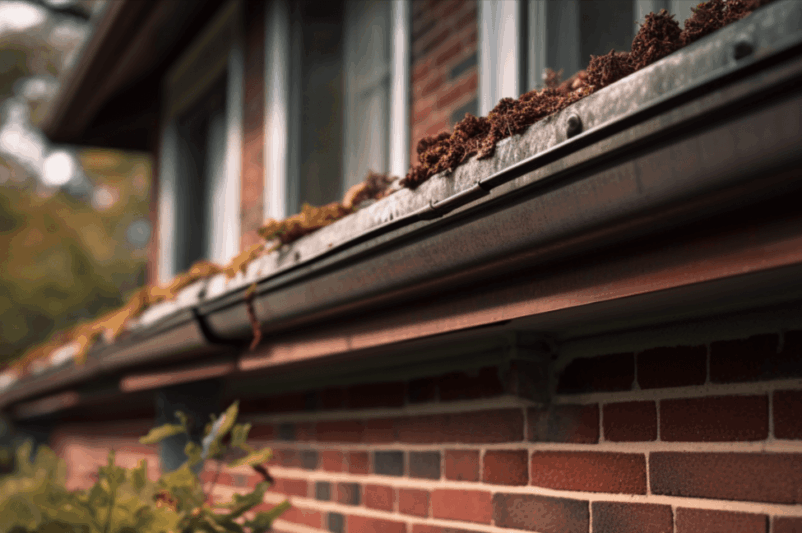
Even with the best materials and installation, drip edges can face issues over time. Common problems include corrosion, especially in galvanized steel versions, and loosening of the fasteners due to weather conditions. Regular inspections can help in early detection of these issues. Addressing them may involve replacing corroded sections, resealing joints with appropriate sealants, or tightening loose fasteners.
Frequently Asked Questions
- How long do drip edges last?
- The lifespan of a drip edge largely depends on the material used and can range from 20 to 50 years.
- Are drip edges required by building codes?
- Many local building codes do require the installation of drip edges, so it’s essential to check the regulations in your area.
- Can I install a drip edge myself?
- While it’s possible to install a drip edge yourself, it’s advisable to consult a roofing professional to ensure proper installation and compliance with building codes.
Conclusion
Understanding what a drip edge is and its role in a roofing system is crucial for homeowners and roofing professionals alike. This component not only serves a functional purpose but also adds to the aesthetic appeal of your home. By choosing the right type, material, and ensuring proper installation, you can significantly extend the lifespan of your roofing system while keeping water-related issues at bay.

About the Author
Certifications & Affiliations